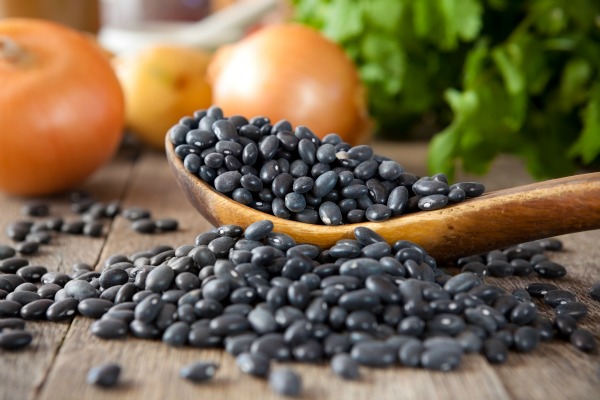
DRY BEANS

You are here:
Home /
Farming/Homesteading / Step-By-Step Guide to Pressure Can Dried Beans
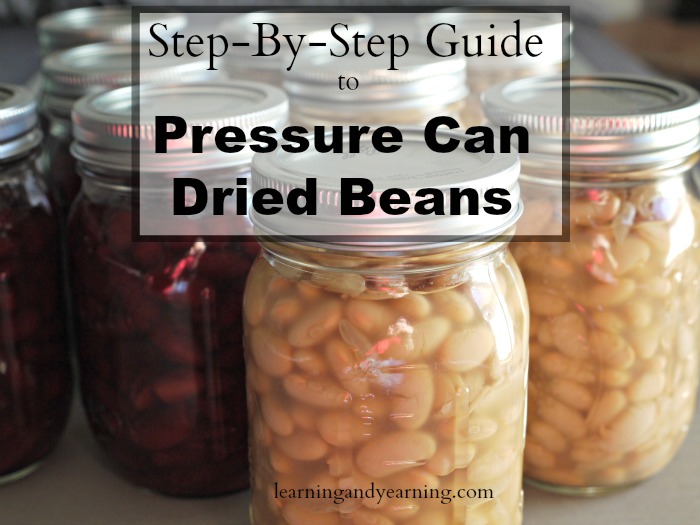
Step-By-Step Guide to Pressure Can Dried Beans
November 9, 2015 by
Susan Vinskofski 10 Comments


 Why Pressure Can Dried Beans
I’m the girl who’s not in love with canning. I much prefer to preserve my garden produce by
dehydration or
lacto-fermentation because both methods do a much better job of preserving nutrients.
Canning does have its place, and I do can tomatoes and sauce, and maybe a few jars of applesauce.
DISCLOSURE: In order for me to pay my blogging expenses, I may receive monetary compensation for my endorsement and/or link to products mentioned on this blog. I am a participant in the Amazon Services LLC Associates Program, an affiliate advertising program designed to provide a means to earn fees by linking to Amazon.com and affiliated sites.
And I can dried beans (legumes). That may be surprising, since storing the beans dried is so easy. Here’s my reasoning. Somedays I just like to have something available that’s fast and easy. And cooking dried beans is anything but fast.
I’ve cooked extra beans and froze them, and that works fine, but I need my freezer space for the meat we buy from local farmers.
One of Mike’s favorite meals is homemade chili. It’s really an easy meal, except for those beans. So, while I keep dried beans on hand, I inevitably end up with store-bought cans of kidney beans on my shelf to throw in chili when I haven’t thought things out ahead of time and haven’t soaked and cooked beans.
Get it? I’m into fast food; just not the kind you find at those franchise restaurants.
Soooo, that’s why I can beans.
© Depositphotos.com/[MonaMakela] – Terms and Conditions
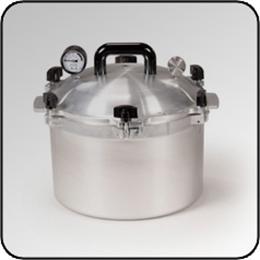
Because beans have very little natural acid, they must be processed using a pressure canner, rather than a water bath canner. And that’s why I have a gorgeous, made-in-America,
All American Pressure Canner.
When I was trying to decide which pressure canner to purchase, I asked my
Facebook fans for some advice. And they really had some great things to say.
While the All American is a more expensive canner, the quality is far superior to anything else out there. And the fact that it does not use a gasket to create a tight seal means no gaskets to replace. Those things can be pricey.
I checked out used All American’s online, and I was amazed to find out that they cost almost as much as new. That kinda’ sealed the deal for me. If they can retain their value like that, I’m in.
Before starting, be sure you are familiar with your pressure canner. The user guide that came with your canner is a valuable reference.
Step 1. Soak the Beans
Soaking beans (legumes) helps to insure that they are easily digested. In
Nourishing Traditions, the author says that soaking:
ensures that legumes will be thoroughly digestible and all the nutrients they provide well assimilated, because such careful preparation neutralizes phytic acid and enzyme inhibitors and breaks down difficult-to-digest complex sugars.
So, first decide the amount of beans you will need. A canner load of 7 quarts will require approximately 5 pounds of beans. A load of 9 pints will require about 3 1/4 pounds of dried beans.
Wash the beans under cold water and drain. Cover the beans with water. Allow to soak for 12 – 18 hours. Drain and rinse the beans.
Step 2. Partially Cook the Beans
Place the soaked beans in a large pot and add water to cover the beans. Bring the beans to a boil, skimming off any foam. Gently simmer, covered, for 30 minutes. This will only partially cook the beans; they will finish cooking in the canner.